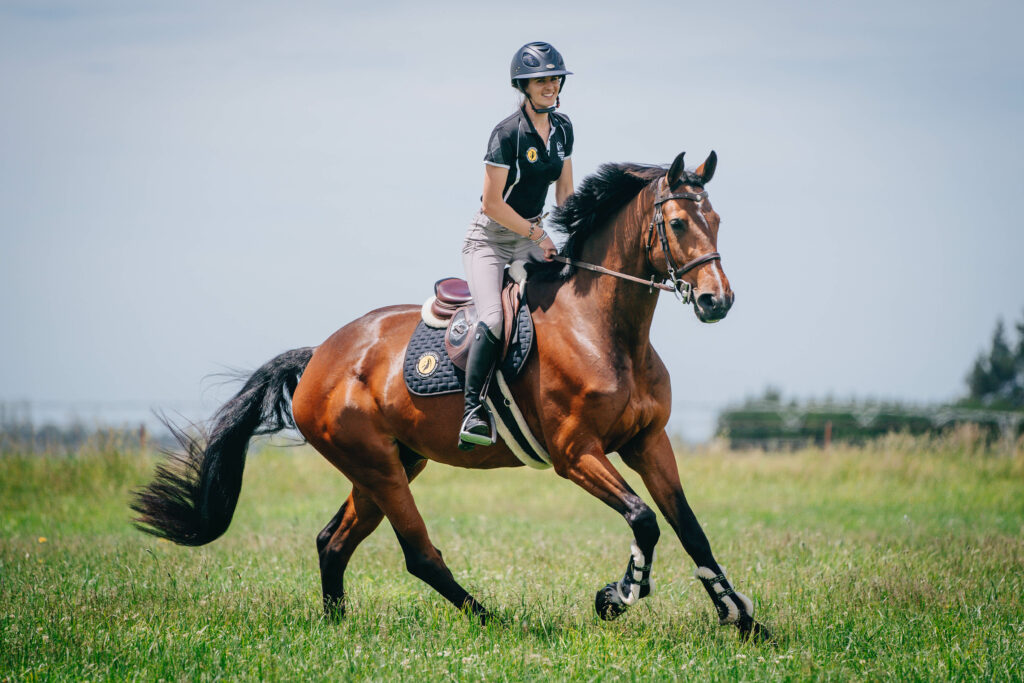
The information you give on your listing will go a long way to determining the success of your advert. In this post we will discuss photos and videos you should include, along with some hints and tips on how to take good photos and videos that will make people want to view the rest of your listing and the sort of information you should include.
When people go to your listing the first thing they will see is your Cover Image. This will be spread across the top of your listing. It is important that this is eye-catching and a high quality image, see our tips below. Often you will only get a split second to make an impression and encourage people to view the rest of your listing, so make this image count.

You can then add additional Gallery Images up to a total maximum size of 80MB.
You may need to reduce the size of the images you are adding, so you can add more pics. You should, however, be able to add sufficient high quality images, without running out of space. You are better off having fewer high quality images, rather than lots of low quality ones.

You can also add any documents you would like for example a vetting. registration files or show results and you can link to a video of your horse. Below we will discuss what photos and videos you should include. The video will need to be linked from YouTube. If you are not sure how to do this check out our help sheet, which you can find in the Blog section or by following this link.
Compare these two photos, taken of the same horse. If you saw these two photos on an advert, which one would you look at?
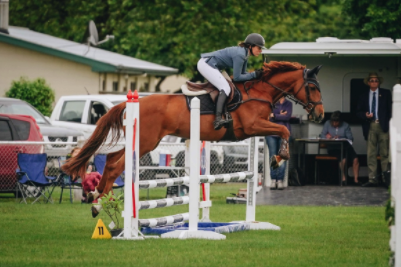

You don’t need to take the photos on a flash professional camera, you can achieve some good quality images with a mobile phone but you will still need to do some thinking, the photos do rely on user input.
Below are some hints and tips on how to take good, meaningful photos.
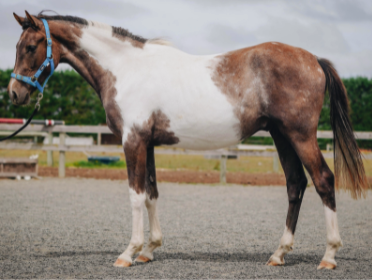
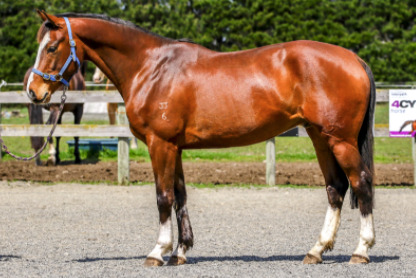
If you can include the following photos of your horse:
If you still want help to get those perfect horse shots, you can find a local horse photographer who may be able to help. Check out the Photographers section in our Directory to find a photographer near you (insert link to photographer page in directory).
Below are some examples of the sort of photos to include.
In your video try and include clips of:
When completing your horse’s profile answer all the questions as fully and as truthfully as you can. If you need to elaborate on an answer then add a note in the notes section next to each question.
Try to make your profile eye-catching and to the point as much as possible. Add what potential buyers need to know and give a good run down of the horse. You don’t have to include every little detail. You don’t want to scare people off and lose their attention with too much information, too many photos or overly long videos. You can always fill serious buyers in later with additional information. Make sure the horses are presented well and you are using good quality pictures to really show them off well. The point is to capture their attention.
Think carefully about the information and photos you are adding. If you need to make changes once your profile is published it will need to be approved by an Admin.
Here is an example of a suitable video.
Once your profile is published, any user who is logged into their account will be able to see your horse’s full information, images and videos. They will also have the ability to contact you about your horse.
They can do this by calling you, sending an email or using our messaging service. For more details on how this works check out our Member Chat help sheet in the Blog section of this site.

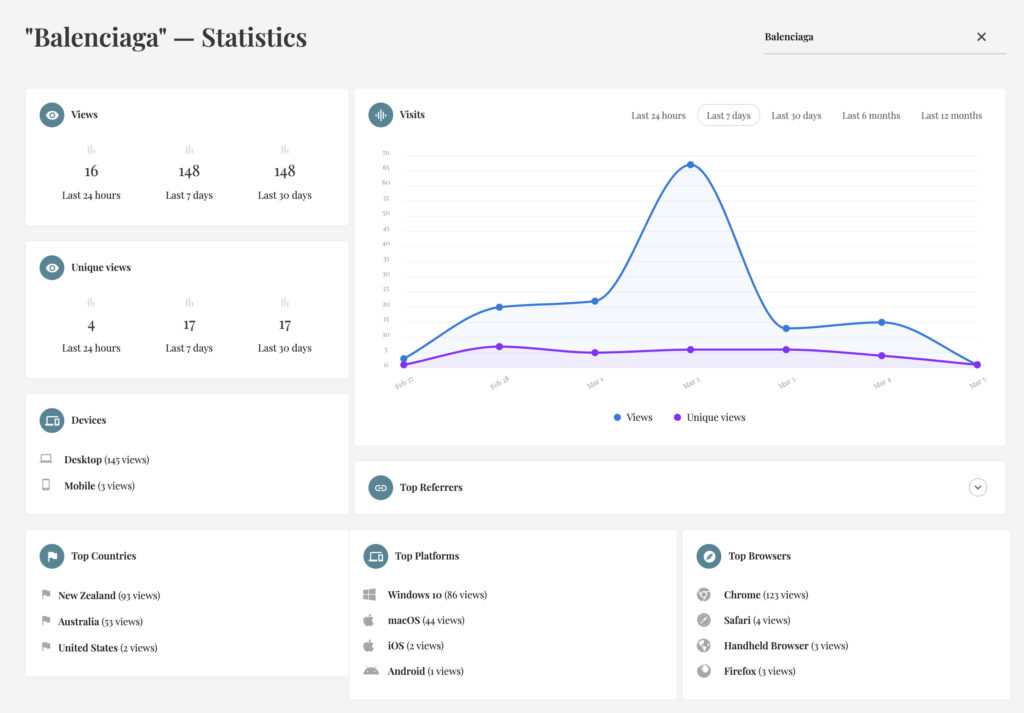
Once your listing is live you will be able to go to the Dashboard in your profile and view the stats for how many people have viewed your listing.
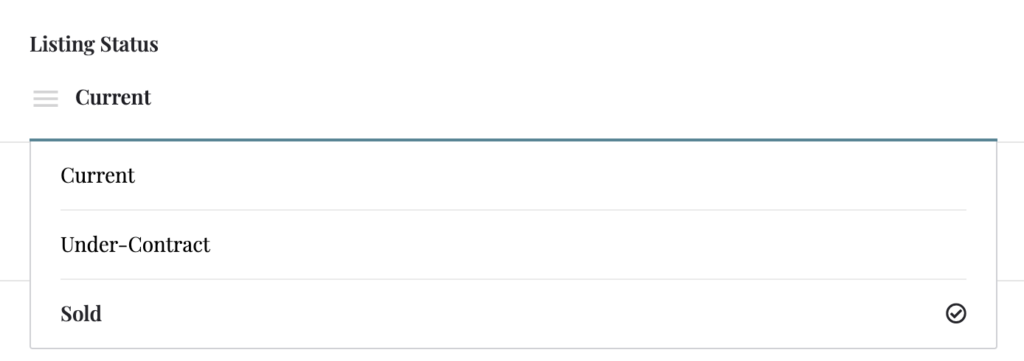
If your horse is under offer or is sold. You will need to go back to your listing and change its Listing Status.
Good luck with your listing and if you need any further help please feel free to contact us via our contact page.
You must be logged in to post a comment.
"*" indicates required fields